Sunday 24 January 2021

Video Tutorial - The Goldleaf Strip technique


Hello friends!  The other night I did my very first YouTube live video.  Sure, I've been making tutorials on both YouTube and Facebook for years... but I've never got around to doing Live Videos on YouTube. But I was encouraged to give it a go a couple of days ago.... and the video I have posted below is the result. Its longer than my usual YouTube tutorials... but thats the nature of Live videos I guess!  There are pros and cons to this type of video.... (a longer video might be a con for some, and a pro for others!) but something I really do like about it is that its a chance to meet completely different people from those I have engaged with in the past.  And it's a chance for you to get to know me better too! (Is that a pro or a con!?)


So if you were with me the other night whilst I was live.... thanks for watching!  And thanks to those that have watched the replay too. The card above is the one I made live on the video.... and I showed a really easy way to use the Gilded Leafing Embellishment (AKA Goldleaf).  Im calling it the Goldleaf Strip technique (not sure if there is another offical name), but if you get the chance definitely give this fun technique a try!  That Gold Leaf stuff sure is messy... but that's totally outweighed by how much fun it is....and doesnt it look amazing on my card?


Without further ado... click the link below to view the tutorial.  I really hope you enjoy it.... and I plan to make more of these videos.  I'll be announcing a regular time for them on my FACEBOOK BUSINESS PAGE this week... so stay tuned for that! 


Saturday 23 January 2021

Registrations for my January Online Speciality Class are now OPEN!


Welcome to my latest Online Specialty Class!  This month we are making 3 projects and I'll be working with the gorgeous Fine Art Floral Suite.  There will be 2 cards PLUS a gorgeous 3" x 3" box containing 3 gift cards - which would easily make a beautiful gift or something special for yourself! 

The awesome thing about an Online Speciality class is that you can make the projects and follow the tutorial at a time to suit you!  So this style of class can totally fit into your life - you just make the projects when you are ready.  No scheduled time - its up to you! 

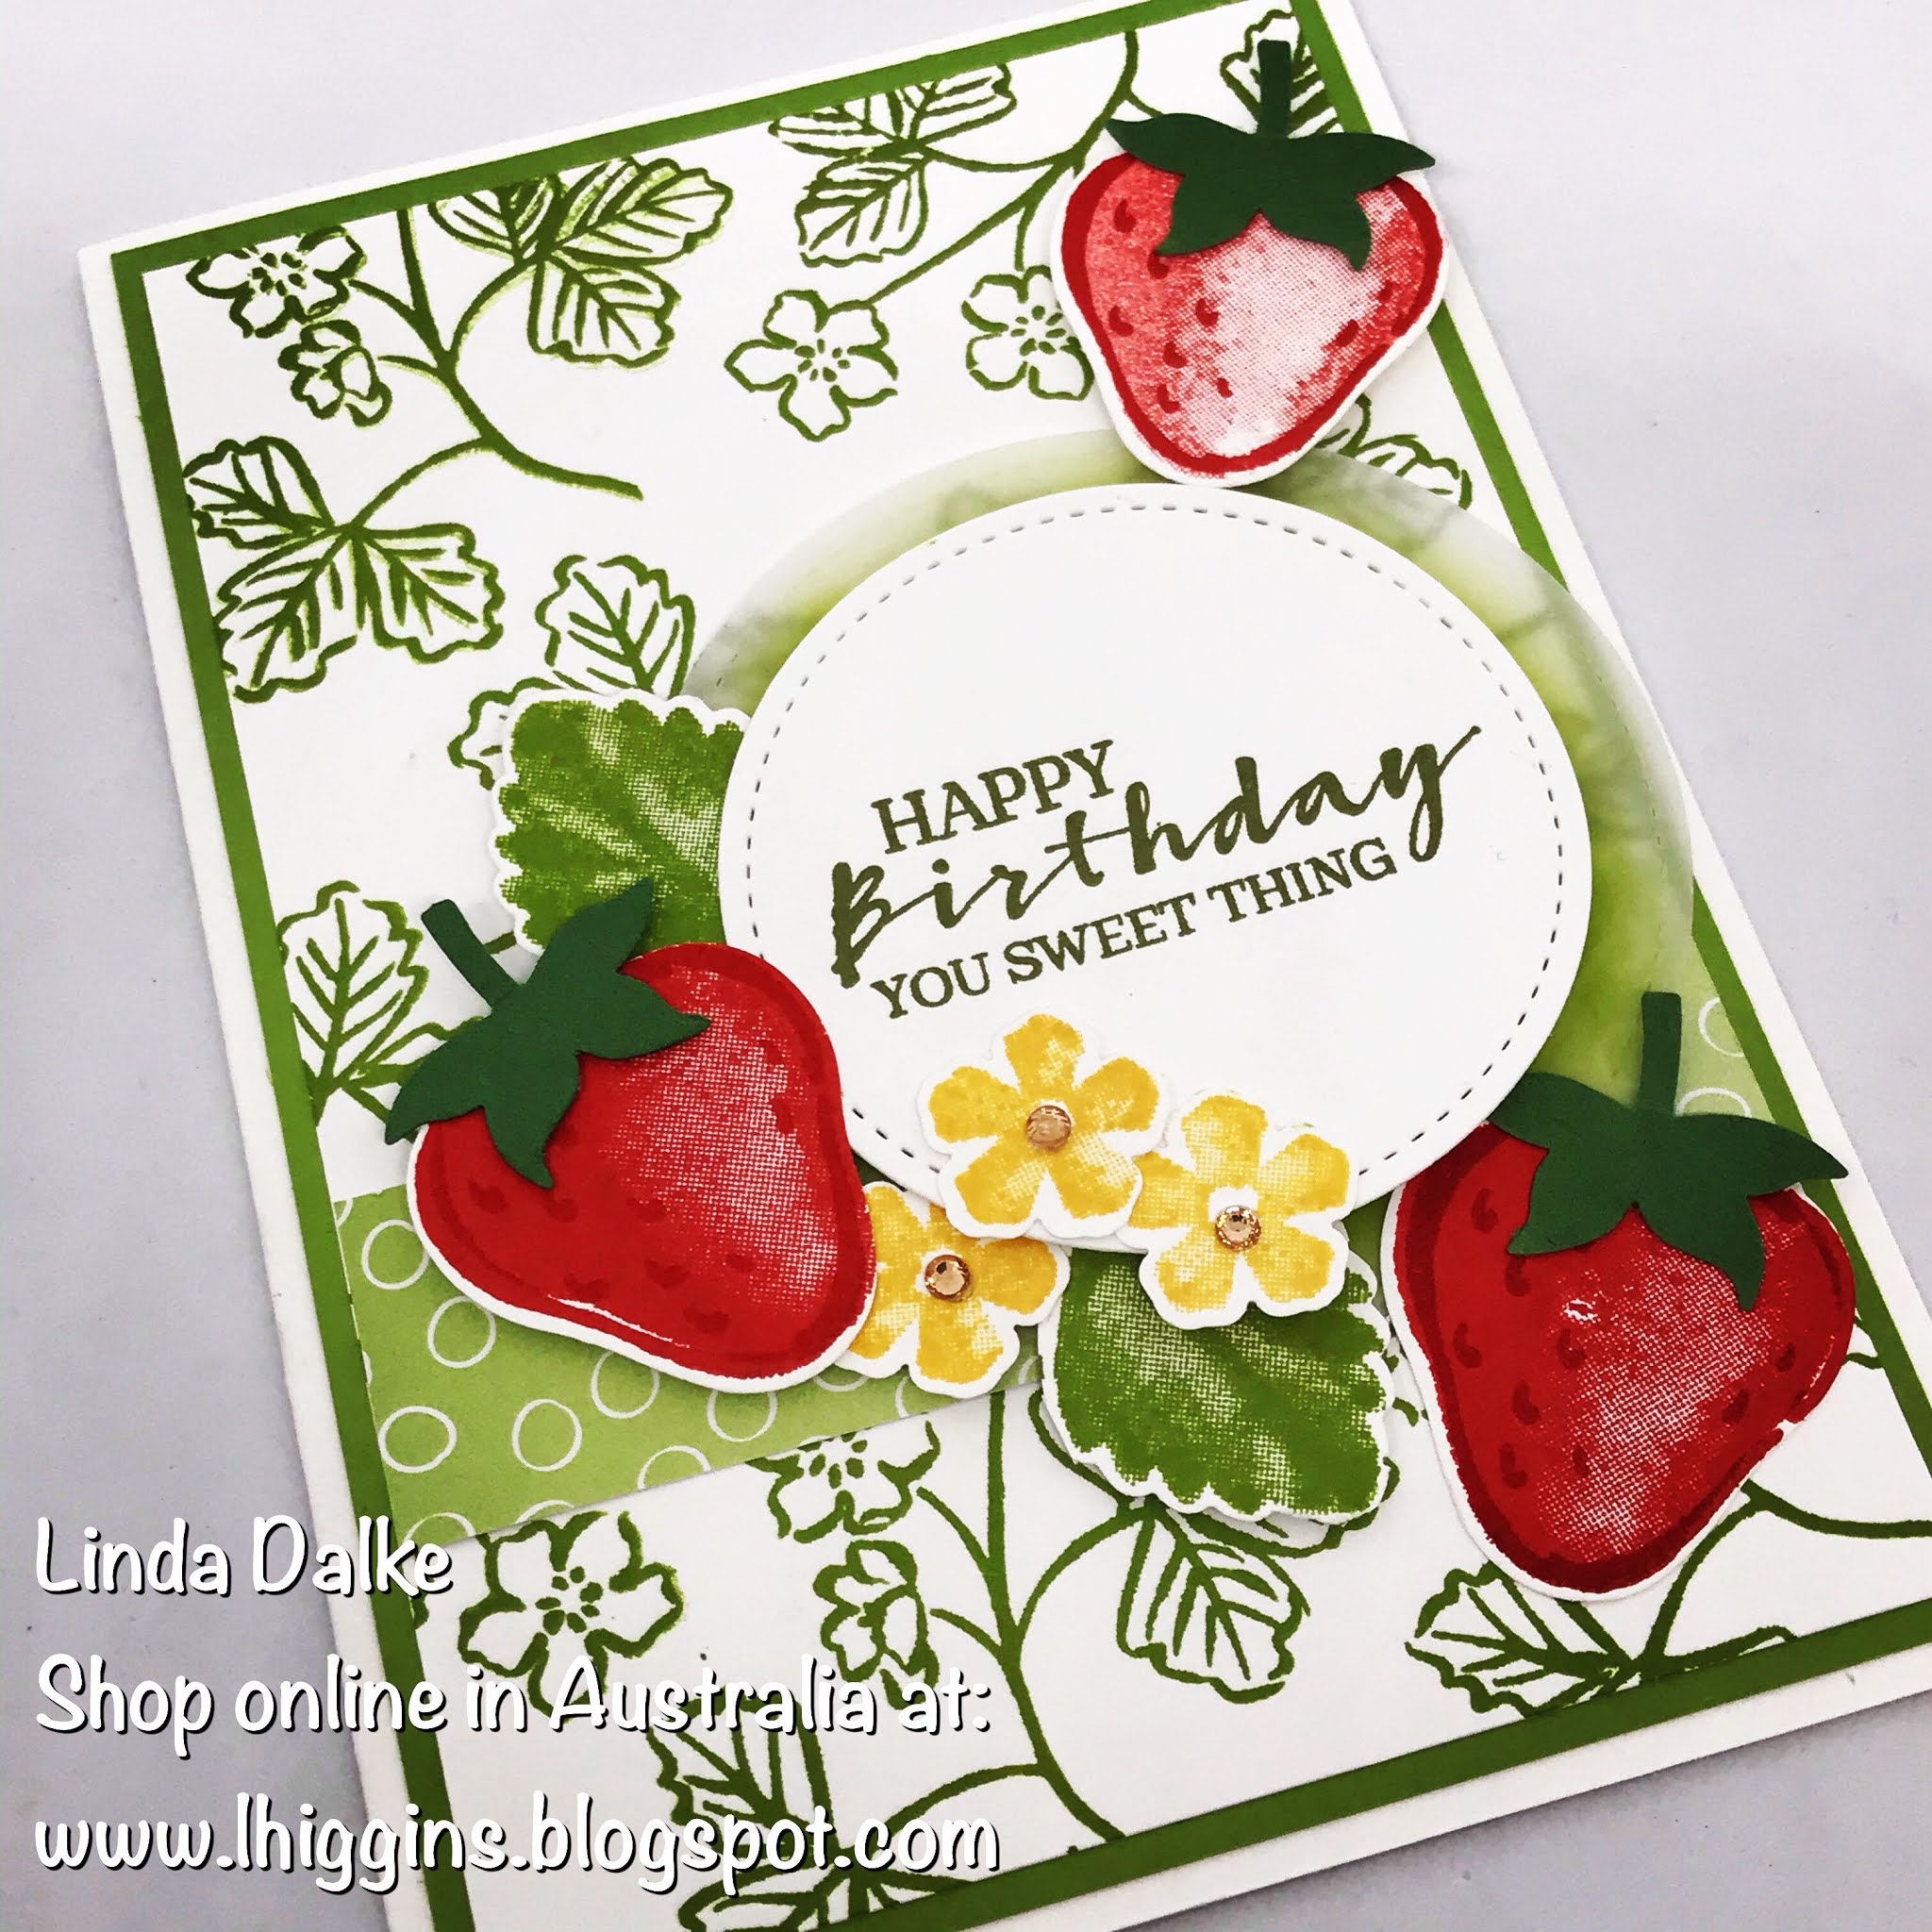
Of course Im not giving away all my secrets today... that would be telling!   But I think you will really love these projects.  I've posted just a "sneak peek" of the projects above - so you can get an idea of the colours and style of what we are making.  The main colours are So Saffron, Pink (a combination of Flirty Flamingo, Petal Pink and Blushing Bride), Sahara Sand and Gold. 


There are two options to register:

1. Tutorial Only - $20


No matter where you are in the world you are welcome to purchase the "Tutorial Only" option. I have set up a Paypal button for this. You will get the link to the video tutorial, and can follow the instructions using whatever stamps and products you have in your stash, and at a time to suit you! (Please note I have used products from the Wonder of the Season suite of products) The cost for this option is $20aud. I have set up a Paypal button for this below. Or you can contact me to make payment.
2. Class pack and Tutorial.
If you are in Australia and would like me to send out the materials to make these projects as well as the video tutorial showing how to put it together then all you need to do is place an order of $50 or more with me through my ONLINE STORE and when you check out be sure to use the Host Code BHZDZYWJ. This Host Code will identify that you wish to be part of the class so that I can send the materials out. Click the SHOP NOW button to go shopping!

The video link will be sent to you by email within 48 hours of placing your order. This Online Class option will be open to register until Wednesday January 27th, 2021, OR until sold out. Class packs will all be in the mail by Friday January 29th.

Please note that the materials sent out will include the die cut or punched shapes needed for this project.... all you need to do is stamp and assemble it together. (You do not have to own the stamp sets I have used - you can substitute with any suitable sentiment stamps you have in your collection) Here is my Recommended list of items to help you put the projects together:

Suggested Inks:
Sahara Sand, Flirty Flamingo, Mossy Meadow. (or similar colours will suffice)
Optional: So Saffron


Suggested Adhesvies:
Seal or Seal +
Tombow Multipurpose glue
Tear and Tape
Dimensionals (mini and "normal")
Mini Glue Dots
Other:

Scissors (To cut ribbon)


And here's the best bit.... you can add anything you like to your order (as long as you use the host code BHZDZYWJ when checking out)... and that includes sale or clearance items, or items from any current catalogue.


I hope you will join me for this Online class this month... and that you enjoy these gorgeous projects! I think you will love them! Feel free to CONTACT ME if you have any questions at all.


Linda D x

Friday 22 January 2021

Welcome to the Paper Adventures Team Blog Hop - NEW


Welcome to the Paper Adventures Team blog Hop.... and welcome to my blog!  This is all very exciting because I am very honoured to have been asked to be the Guest Designer for this blog hop this month!  How exciting!  Thanks Narelle for asking me!  Even though this isnt my demonstrator team, I love that the demonstrator community works so well together and support each other. Truly, Stampin' Up demonstrators are extra special people! 


This month's theme is "NEW".  I took a while to come up with an idea for this theme.  But as luck would have it my daughter is off to the wedding of a friend tomorrow... and what could be more about "New" and "New Beginnings" more than  a wedding, right?  So I made this card for her to take, and I hope they love it!


Of course, I used lots of NEW products on my card too. AND there's something else that is NEW.... This is a new card size for me.  Something that has been trending lately is the "Slimline Card".... so its wider and narrower than usual.  And I gave it a go on this card.  


I've used the gorgeous new "Forever & Always" stamp set as well as the matching "Always Dies".  I cut the "Always" from our lovely new Sahara Sand Foil (in the Love You Always foil sheets).  I also used the divine True Love  DSP.... I am such a sucker for Black and White patterned papers!  The other NEW thing I used on this card is one of my FAVOURITE things in the whole catalogue.... the fabulous new set of Blending Brushes!  These are phenomenal.... they give the most beautiful blended backgrounds, and you will LOVE them!  They come in a pack of 3, and cost $21aud.  


Here's a closer look at my card:


Thank you so much for visiting me today.... and thanks to the Paper Adventures Team for inviting me to be part of their hop today. 


Click the NEXT button below to visit the next blog... you will going to the blog of the talented Narelle Simm.... I know you are going to love her creation!  Happy Stamping Everyone! 


Tuesday 19 January 2021

Who wants to Zoom with me??? Class registrations closing January 20th!


Calling my crafty friends!  Im doing a ZOOM Launch session on Saturday 30th January @ 2pm (Sydney time) and I'd love you to join us!  We'll be showcasing new products from our gorgeous new January - June Mini Catalogue. Above you'll see a little sneak peek of our projects.... and I think you will love them!!!


Here's how it works:  You register for the Zoom class - you can be anywhere in Australia for this one. I then send out the supplies in the post to make the 3 projects.  You just need the Zoom program on your device.  Then at the specified time we all click on the Zoom link (that I will send out by email to all my registered people) and then we get to create together! Fun!!!


BUT you need to be registered by tomorrow 20th January in order for me to get the supplies to you in time!  


How to register:  

There are 2 ways to be part of it. 1. You can place an order of $50 or more through my Online Store and be sure to use the Host Code  EPJUZMEZ   or 2. You can pay $20aud for the class using the following link: 


As I am sending out the supplies for this launch class, you need to be in Australia for this one. However if you are overseas... look out for my next Online Specialty class happening soon.  The online classes feature a "tutorial only" option and they are not tied to a specific time... you can choose to do them at a time convenient to you. 

Im looking forward to seeing you soon!!!

Linda D x

Monday 11 January 2021

The Story of the Upside Down Strawberries.


So. 

I tell you this story so you can have a little bit of a laugh at my expense. I made the above card the other day with the new "Sweet Strawberry" set and matching pumch.  And I was pretty happy with it... so I posted it to my various social media accounts... Instagram, my Facebook business page as well as my Private Facebook group.  After I had done this I proudly showed the card to my husband as he likes cards with brighter colours.  I was sure he would like it.  He did like it but he also looked a bit confused.  He asked what kind of fruit was on the card.... and I told him that they were strawberries of course. To which he replied... "but aren't they upside down?"

Uh oh!  The second he said it I knew he was right and realised my mistake. But in the short time the cards had been posted online I had already had quite a lot of favourable responses - likes, comments and such.  I thought about taking them down and reposting it, but engagement is engagement and always positive. So instead I elected to post the second card (with the strawberries right side up) and explain my mistake. 

It seems that a lot of people not only saw the funny side, but related to my story. I guess we have all made mistakes sometimes. And thats ok!  Not only does it prove we are human, but its good to laugh at ourselves sometimes.   Life is too short to be serious all the time right!?

Here is the card showing the strawberries as they SHOULD be. But it turns out that if you change the colours and turn the strawberry upside down... this stamp and matching punch makes a pretty good pear!


Have a great day friends... and dont forget to laugh! 

Linda D x


You'll find this cool bundle in the Online Store.... just click the "SHOP NOW" button to visit and shop with me. 

Monday 4 January 2021

Video Tutorial: Creating an Antique Frame with the new Gold Leaf from Stampin' Up!


Hello friends!


I have to say I am feeling pretty excited because tomorrow is the day! Tomorrow is January 5th, 2021, and thats the day our brand new Mini Catalogue goes live! Here's a pic of the cover...


As always, this catalogue is filled with loads of products... as well as project ideas and inspiration.  You are going to love what's inside! 


Today I am featuring a new product from inside the catalogue... the fabulous "Gilded Leafing Embellishment" AKA Gold Leaf.  Its a super fun product that allows you to get lots of different effects.  Here's a close up of my cards today... i used the Gold Leaf to create the Antique looking frame you see here. 


Part of that same product suite includes the "Heat and Stick Powder". Those of you that have been around for a while will remember this product from many years ago. Now they've brought it back!  It works in a similar way to Embossing powder in that you stamp with Versamark ink (or other pigment ink) then pour over your Heat and Stick powder, tap off the excess, and then heat it with your Heat Tool. Instead of going hard and shiny (like embossing powder) the image is then sticky.  This allows you to add your Gold Leaf (or glitter or other item of choice) to the image. 


What I am showing you today though is an alternative to the Heat and Stick system. Instead I am using regular adhesive to create my sticky surface.  The video show you an easy way to do this.  Click the picture below to view the video.   I hope you enjoy it!


Dont forget to use the SHOP NOW button if you wish to purchase any of these products.  Have fun! 


Linda D